Science project
A Trick for the Eyes: Color Wheels and Optical Illusion Tops

The human eye is comprised of two types of receptors: rods and cones. Cones allow us to see color and work well in bright light. Rods are used to see in low light. When a color wheel or optical illusion like the Benham disk spin the brain has to process the colors the eye perceives very quickly. In a spinning color wheel the images blend and we see colors we might not have expected. Scientists have several theories on why we see the colors we do when we spin an optical illusion like the Benham disk or Maxwell top. One is that the different types of cones respond to the image at different rates and stay activated for different periods of time, thus we see colors when the disk spins. Another theory is that the black and white spaces activate different parts of the retina of the eye causing interactions with the nervous system that allows us to see colors. Scientists are still unclear exactly why this phenomenon occurs.
Problem:
In this project the student will experiment with spinning color wheels and optical illusions researching why the eye and brain process visual information the way that they do. The goal of the project is that the student will formulate their own questions and develop their own understanding through a hands-on independent inquiry of the human eye, light and color.
Materials:
- All materials are readily available at an office supply and hardware store.
- Cardstock or thick paper
- Brightly colored markers
- Scissors
- Compass or a container to trace to make a circle shape
- String or yarn
- A 1/2 ‘’ x 1/8 ‘’ machine screw and a nut to fit
- Notebook
- Camera (optional)
Procedure:
-
You will first build a spinning color wheel. There are several ways you can do this. You might want to experiment with both!
- Using a compass, or trace a circular container draw a circle with a diameter of no more than 6 inches on a piece of cardstock.
- Cut out the circle.
- Color the cardstock in a variety of colored wedges to create a color wheel like the one below. Figure 1. >Once you experiment with these colors, try different colors and shapes!)
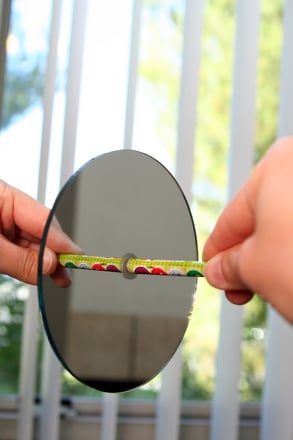
- Carefully poke 2 small holes about ½ an inch apart from one another in the center of the wheel.
- String a piece of yarn (about 1 ½ foot) through the holes and tie together so that you have formed a loop of string that go>es through both holes in the disk.
- Push the wheel to the middle of the loop of yarn. Loop the string around each of your index fingers and twist the yarn until it is twisted up the color wheel. Gently pull your fingers apart and the wheel should spin! What do you see?
- Write down what you saw in your notebook. Make a hypothesis or a prediction before trying out your new designs.
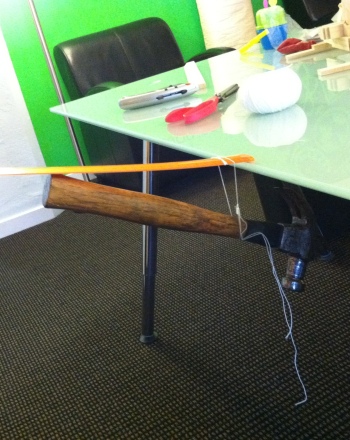
- A second method of creating your spinning color wheel is to build a top.
- To make a top, punch a small hole directly in the center of the wheel.
- Push the screw through the hole so that the head of the screw is on the bottom of the wheel. Tighten the nut down to the disk. Now spin your disk like a top!
- Experiment with different color wheels. Then try to make an optical illusion disk. Try using the patterns in the picture above. What do you discover?
- Keep track of your experiments in a notebook. Describe the colors or patterns you used, and then what you saw when you spun your wheel or top. You may want to take pictures or draw colored illustrations of your wheels or tops so that you can use them in your Science Fair presentation.
Education.com provides the Science Fair Project Ideas for informational purposes only. Education.com does not make any guarantee or representation regarding the Science Fair Project Ideas and is not responsible or liable for any loss or damage, directly or indirectly, caused by your use of such information. By accessing the Science Fair Project Ideas, you waive and renounce any claims against Education.com that arise thereof. In addition, your access to Education.com's website and Science Fair Project Ideas is covered by Education.com's Privacy Policy and site Terms of Use, which include limitations on Education.com's liability.
Warning is hereby given that not all Project Ideas are appropriate for all individuals or in all circumstances. Implementation of any Science Project Idea should be undertaken only in appropriate settings and with appropriate parental or other supervision. Reading and following the safety precautions of all materials used in a project is the sole responsibility of each individual. For further information, consult your state's handbook of Science Safety.
Related learning resources