Activity
Design Challenge: Making a Catapult

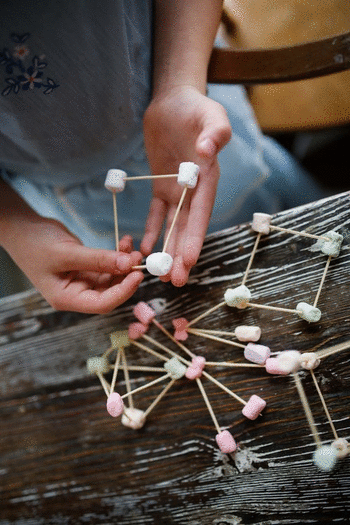
In this activity, your child will be challenged to use simple materials to create a catapult for a small, lightweight toy. This prompt is intentionally open-ended so that your child can be creative about how they use the materials.
The purpose of this activity, like many design challenges, is for your child to gradually develop skills of persistence and resilience. We have given instructions that you can use to guide your child through each step of the design thinking process. These steps include brainstorming, designing, testing, reflecting, and modifying. Feel free to go beyond what we have written, and have fun with this activity!
This activity is aligned to the following NGSS: K-2-ETS1-1, K-2-ETS1-2, K-2-ETS1-3.
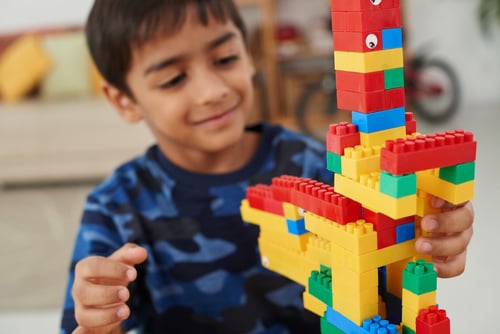
Related learning resources