Activity
Design Challenge: Design a Bouncy Ball
In this design challenge, students will be tasked with creating a bouncy ball polymer! After doing some background research on polymers, students are guided through the design process to create a polymer that bounces like a ball. Students may choose to rely on their creativity to plan their design, or use the step-by-step procedure we have provided.
This activity is aligned to the following middle school Next Generation Science Standards: MS-PS1-2, MS-ETS-1, MS-ETS1-2, MS-ETS-13.
What You Need
- Science textbook or computer to research polymers
- Paper and pencil to write design plans and record experiment data
- Water
- Borax (other options include slime activator or contact lens solution)
- White glue
- Cornstarch
- Dish soap
- Food coloring (optional)
- Gloves
- Safety glasses
- Clear plastic cups
- Plastic spoons or popsicle sticks
- Marker to label cups
- Measuring cups
- Measuring spoons
- Ruler or measuring tape
- Flat surface to test bouncing
- Optional: microwave/stove for heating water
Health & safety: Safety glasses and gloves should be worn during this design challenge. If any substance in this design challenge gets in your eyes, rinse the affected area with water for 15 minutes and seek medical attention. Borax is a weak base and a skin and eye irritant. It is toxic if consumed in large quantities. Extra borax solution may be discarded down a household drain.
What You Do:
- What is a polymer? Can household materials from the list above be used to make a polymer? Use the internet or a science textbook to find out.
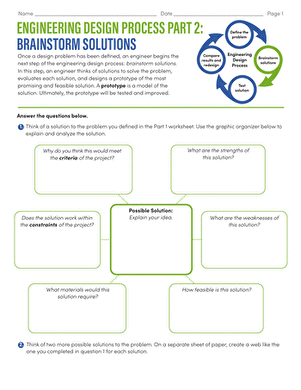
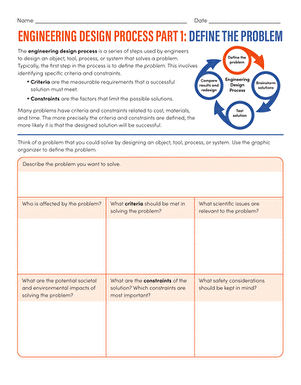
- Your task is to use the materials provided to design a bouncy ball polymer. Begin brainstorming which substances you will combine to make your polymer. Write down your design choices on a piece of paper. You may choose to use the procedure below as a template for your design.
- Consider the quantities of each substance that you will use. Write down these quantities.
- Consider the equipment you will need to measure and mix these substances. Write down these pieces of equipment.
- Finally, decide how you will test the "bounce" of your polymer. Write down your plan.
- Choose one of your designs to make your first polymer. After putting on safety glasses and gloves, carefully measure your substances and combine them to make your first polymer. Roll your polymer into a ball. Note any changes that were made to your original design on a piece of paper.
- Once you have made your first polymer, it's time to test how well it bounces! You may choose to use the sample protocol below, or the method you designed. Whichever method you use, be sure to record your test results on a piece of paper.
- Reflect on how well your bouncy ball polymer worked. Why do you think this design worked well? How could you improve on the design?
- Try making your bouncy ball polymer at least two more times. If your initial design worked well, try repeating your procedure to see if you get the same results. If your design didn't work well, modify your original design, and then repeat the experiment.
- Analyze the results of your experiments. Which design produced the polymer ball with the most bounce? Why do you think that is? Use the results from your experiments to support your reasoning.
Here is a procedure for making a bouncing polymer in case you are struggling with your design. Feel free to modify this protocol to make it your own!
- Put on safety glasses and gloves. Arrange your measuring tools, substances, plastic cups, and spoons on a clean, flat surface.
- Add ½ teaspoon of borax to ½ cup of warm water in a plastic cup. Stir until the borax is dissolved. This is your borax solution. Use a marker to label this cup.
- Add ¼ cup of water to a clear, plastic cup. Mark the top of the water level on the cup. Discard the water. Now add glue up to this line in the cup.
- Add ¼ cup of water to the glue. Stir until combined. If you wish, add a few drops of food coloring and mix thoroughly.
- Slowly add small amounts of borax solution to the glue mixture while stirring. Add borax solution until the polymer starts to form. Keep track of how much borax was added. You can do this by measuring how much borax solution was left in the cup.
- Once the polymer has formed, remove it from the cup and rinse it with tap water. Roll the polymer into a ball. Your polymer is ready for testing!
- Work with a partner to test the polymer's bounce. Hold a measuring tape or ruler vertically. Hold the bottom of the ball even with the top edge of the ruler or measuring tape. Drop the ball, and have a partner observe the height of the bottom of the ball on its bounce. Record this height. Test the bounce of each ball three times, and record your results.
Disclaimer and Safety Precautions
Education.com provides the Science Fair Project Ideas for informational purposes only. Education.com does not make any guarantee or representation regarding the Science Fair Project Ideas and is not responsible or liable for any loss or damage, directly or indirectly, caused by your use of such information. By accessing the Science Fair Project Ideas, you waive and renounce any claims against Education.com that arise thereof. In addition, your access to Education.com's website and Science Fair Project Ideas is covered by Education.com's Privacy Policy and site Terms of Use, which include limitations on Education.com's liability.
Warning is hereby given that not all Project Ideas are appropriate for all individuals or in all circumstances. Implementation of any Science Project Idea should be undertaken only in appropriate settings and with appropriate parental or other supervision. Reading and following the safety precautions of all materials used in a project is the sole responsibility of each individual. For further information, consult your state's handbook of Science Safety.
Related learning resources
