Activity
Design Challenge: Making a Boat
In this activity, your child will be tasked to create a boat that can successfully float 25 pennies. They can be creative with how they make their boat and can use any household items. We have given instructions which you can use to guide your child through the design thinking process. We have also given step-by-step instructions for making a boat in case your child is stuck and needs some inspiration. This activity is aligned to the following NGSS: K-2-ETS1-1, K-2-ETS1-2, K-2-ETS1-3
Grade
Subject
Thank you for your input.
What You Need:
- A variety of materials that float (e.g., plastic straws, corks, pencils, ping pong balls)
- A variety of materials that sink (e.g., metal spoons, erasers, dry pasta, pipe cleaners)
- A large plastic, reusable container (large enough to submerge the materials listed above)
- Duct tape
- Plastic wrap
- Mini paper cup
- 25 pennies set aside
- Pencil and paper for taking notes
What You Do:
- Before your child gets to work, make sure that they fully understand the challenge. Explain to them that they should use the provided materials to create a boat that will hold 25 pennies and stay afloat.
- Ask your child the following questions:
- Besides a boat, what are some things you know that float in water?
- What are some things that sink in water?
- Fill a plastic container with water. Give your child all the materials they have to choose from to make their boat. Have them test each material by placing it in the water. Have them record their observations on a sheet of paper, or write down their observations for them.
- After your child fully understands the prompt of this challenge and has tested the materials, they can begin brainstorming different ways to build a boat of their own.
- Don't let your child start building just yet. Instead, have them draw or write down their ideas on a piece of paper so that they can refer back to them later. You can also write them down for them if you'd like.
- Once your child is done brainstorming, ask them to choose the idea they think will work best. Be sure to ask them why they are choosing this design, emphasizing the purpose of the boat (to float 25 pennies).
- This is an important step of the design thinking process because it teaches your child to prioritize the functionality of their design over personal preferences. This also prevents your child from getting emotionally attached to one design.
- Next, allow your child to begin building. Be sure to supervise for safety purposes, but allow them to work independently through challenges as much as possible.
- After your child is done building, it's time to test the design. Have your child place their boat in the container of water and observe whether it successfully floats. Next, have your child place the 25 pennies on their boat, counting them aloud one by one.
- If your child's boat successfully floats with 25 pennies in it, congratulate them for their success!
- If your child's boat sinks, make sure they aren't discouraged. Ask your child what they think went wrong and why. Then, encourage them to go back and repeat this process in order to make a boat that works next time.
Below, we have written instructions for building a boat in case your child is struggling to come up with ideas. Feel free to have your child build something entirely on their own, or use the procedure below:
- First, take a piece of duct tape and stick some plastic straws to the adhesive side of the tape.
- Next, wrap your straws and duct tape in plastic wrap.
- Ask your child why they think using plastic wrap is useful. (Answer: plastic wrap makes the boat "waterproof.")
- Tape down the plastic wrap using duct tape to secure it in place.
- At this point, you have finished building the boat's structure.
- After your child has finished building their boat, have them tape down a small paper cup in the middle to serve as a weight holder for their pennies.
- Ask your child why they think it's important to have a weight holder. (Answer: a weight holder balances out the weight of the boat, so it won't tip over when you place the pennies on top.)
- Next, have your child place the boat in the container of water. .
- Finally, test out your child's boat! Add the 25 pennies inside the cup one at a time, counting them aloud as you go.
Related learning resources

Design Challenge: Gumdrop Towers
Activity
Design Challenge: Gumdrop Towers
In this fun design challenge, your child will get creative with making structures out of toothpicks and gumdrop candies.
kindergarten
Science
Activity
Building Brick Challenge: Build a Boat
Activity
Building Brick Challenge: Build a Boat
Develop your child's mathematical and engineering skills with this fun building brick challenge. In this activity, your learner will be challenged to create a boat out of building bricks.
1st grade
Science
Activity
Design Challenge: Making a Catapult
Activity
Design Challenge: Making a Catapult
In this activity, your child will be challenged to use simple materials to create a catapult for a small, lightweight toy.
preschool
Science
Activity

STEM Design Challenge Cards
Worksheet
STEM Design Challenge Cards
These STEM design challenge cards ask learners to build something new for a specific reason or purpose and are a great way to foster creative thinking.
2nd grade
Science
Worksheet
Design Challenge: Building a Bridge
Activity
Design Challenge: Building a Bridge
In this exciting and empowering challenge, your child will construct a bridge using marshmallows and toothpicks!
preschool
Science
Activity

Fix the Boat
Worksheet
Fix the Boat
Do you think this boat can float? Have some fun with your little sailor and build a better boat to replace this silly one.
kindergarten
Math
Worksheet
STEM Design Challenge: Plan, Reflect, Revise
Worksheet
STEM Design Challenge: Plan, Reflect, Revise
Children will plan our their STEM design, reflect on the process of building their creation, and brainstorm ways they could make their design even better.
preschool
Science
Worksheet
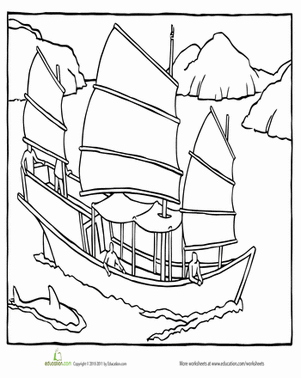
Junk Boat Coloring Page
Worksheet
Junk Boat Coloring Page
This color sheet features a junk, an ancient Chinese sail boat.
2nd grade
Worksheet
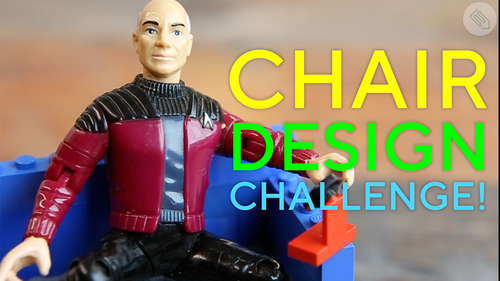
Chair Design Challenge
Activity
Chair Design Challenge
In this activity, your student will be invited to build a chair out of building blocks that is designed to meet the specific size and shape of a small doll or toy figure.
2nd grade
Science
Activity
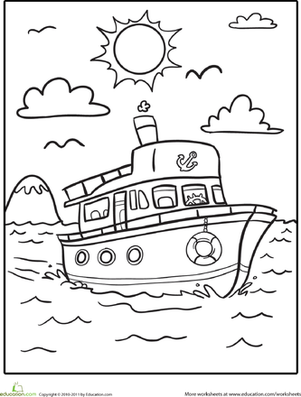
Boat Coloring Page
Worksheet
Boat Coloring Page
What better way to spend the day than on a fun boat ride?
kindergarten
Worksheet

STEM Design Challenge Cards for Young Learners
Worksheet
STEM Design Challenge Cards for Young Learners
Use these STEM design challenges to foster creativity and critical thinking skills in young learners while introducing them to the engineering process.
preschool
Science
Worksheet
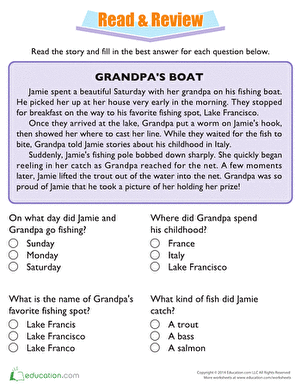
Read and Review: Grandpa's Boat
Interactive Worksheet
Read and Review: Grandpa's Boat
Jamie will be on a fishing boat with her grandpa. Read all about her grandpa's boat and then answer the questions.
2nd grade
Reading & Writing
Interactive Worksheet

