Activity
Design Challenge: Building a Bridge

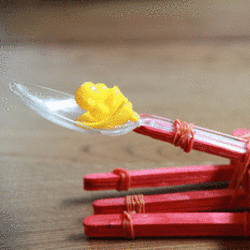
This activity is a great introduction to design thinking because it will capture your child’s interest in a way that is fun and empowering. The challenge is to design a bridge that is made of marshmallows and toothpicks. The bridge must be able to connect two tissue boxes that are spaced six inches apart.
We have included step-by-step guidelines of the design thinking framework. Your job is to help your child through the design thinking process by teaching them the importance of empathy, brainstorming, and prototyping. This activity is aligned to the following NGSS: K-2-ETS1-1, K-2-ETS1-2, K-2-ETS1-3.
Related learning resources
Building Brick Challenge: Build a Tall Tower
Activity
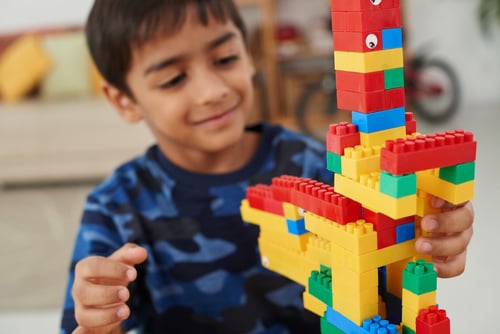
Building Brick Challenge: Build a Tall Tower
In this activity, your child will be challenged to build a tall tower out of building bricks! The instructions include questions prompts to guide students through the design challenge.
1st grade
Science
Activity

Building Brick Challenge: Make a Face
Activity
Building Brick Challenge: Make a Face
In this design challenge, your child will use building bricks to create a funny face.
preschool
Science
Activity
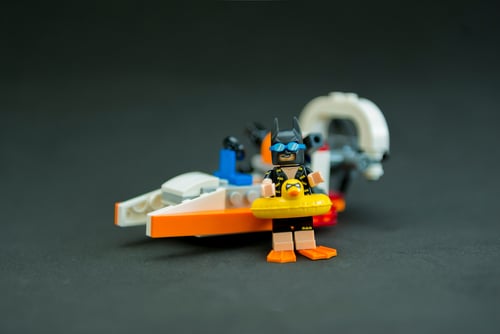
Building Brick Challenge: Build a Boat
Activity
Building Brick Challenge: Build a Boat
Develop your child's mathematical and engineering skills with this fun building brick challenge. In this activity, your learner will be challenged to create a boat out of building bricks.
1st grade
Science
Activity